How-To Guides · 8 min read
How Do You Check Garage Door Safety Sensor Alignment?
By Ted DeSimone
Updated
A door that opens but refuses to close may be protecting you from a blocked sensor beam. Garage door safety sensor alignment is a useful homeowner check, but it isn't the only possible cause of a closing fault.
You'll learn how to clear the opening, interpret your specific indicators, make only permitted bracket adjustments, and verify the protection afterward. Don't bypass the sensors to get the door shut.
How do you tell whether the closing fault involves sensors?
Start by noting what happens during an ordinary closing attempt from a clear, safe position. Does the door reverse, refuse to start or show an error code? Record the result without repeatedly running it, and look up that code in the manual for the exact model.
A sensor-related fault is one possibility when opening works but closing doesn't. Other causes include door binding, a travel setting issue or an operator fault. Flashing lights alone aren't a universal diagnosis, because manufacturers and models use different indicator sequences.
Identify the opener from a readable label or your paperwork. For example, a LiftMaster model's sending-eye and receiving-eye lights should be interpreted using that model's instructions, not a diagram for an unrelated brand. Don't climb near moving machinery to obtain a serial number.
If the door is crooked, has loose cable or makes a new grinding noise, stop the sensor troubleshooting. Mechanical danger signs need an inspection first. A steady sensor light doesn't make a damaged door safe to operate, and a sensor adjustment won't correct a failed counterbalance system.
What should you clear and clean before touching a bracket?
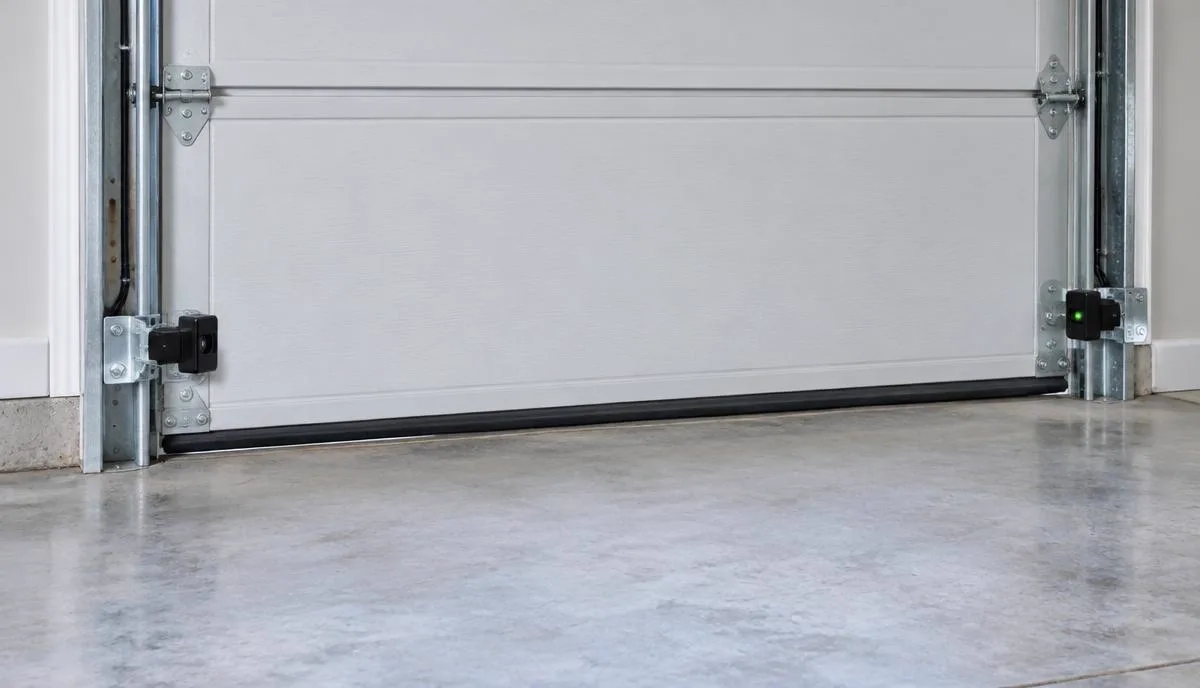
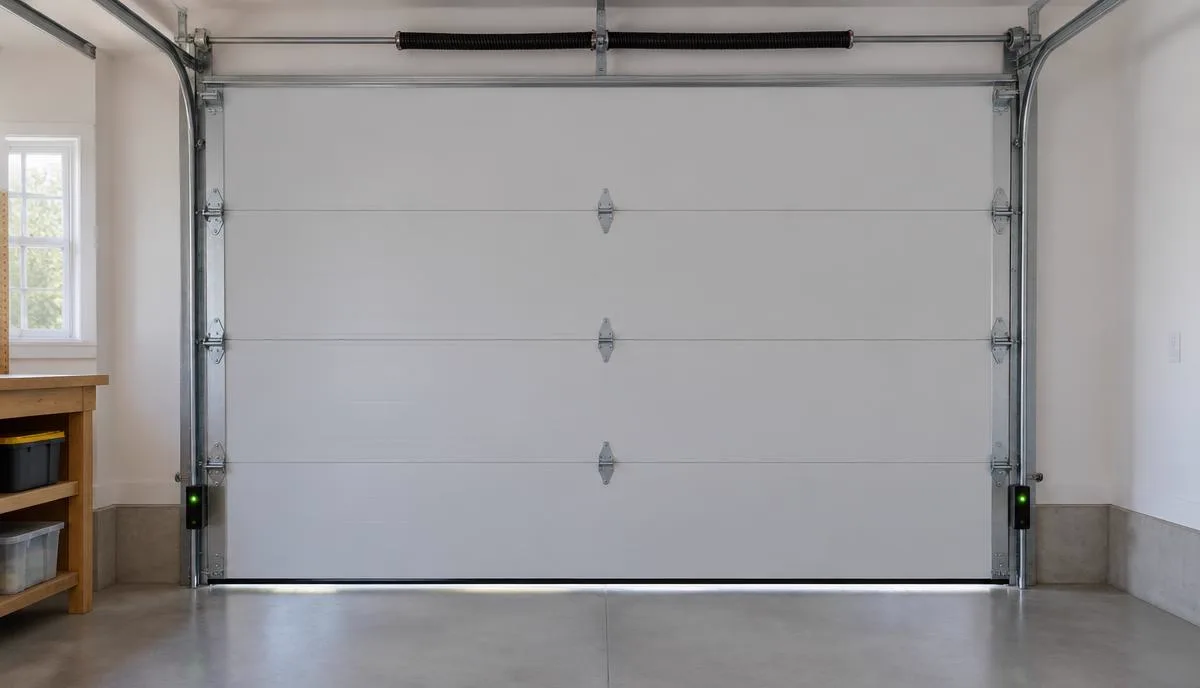
Locate the two photoelectric eyes near the lower sides of the opening. Stand clear of the door and remove ordinary objects from the beam path: bins, garden tools, leaves or hanging cords. Don't reach into a moving opening to pull out an obstruction.
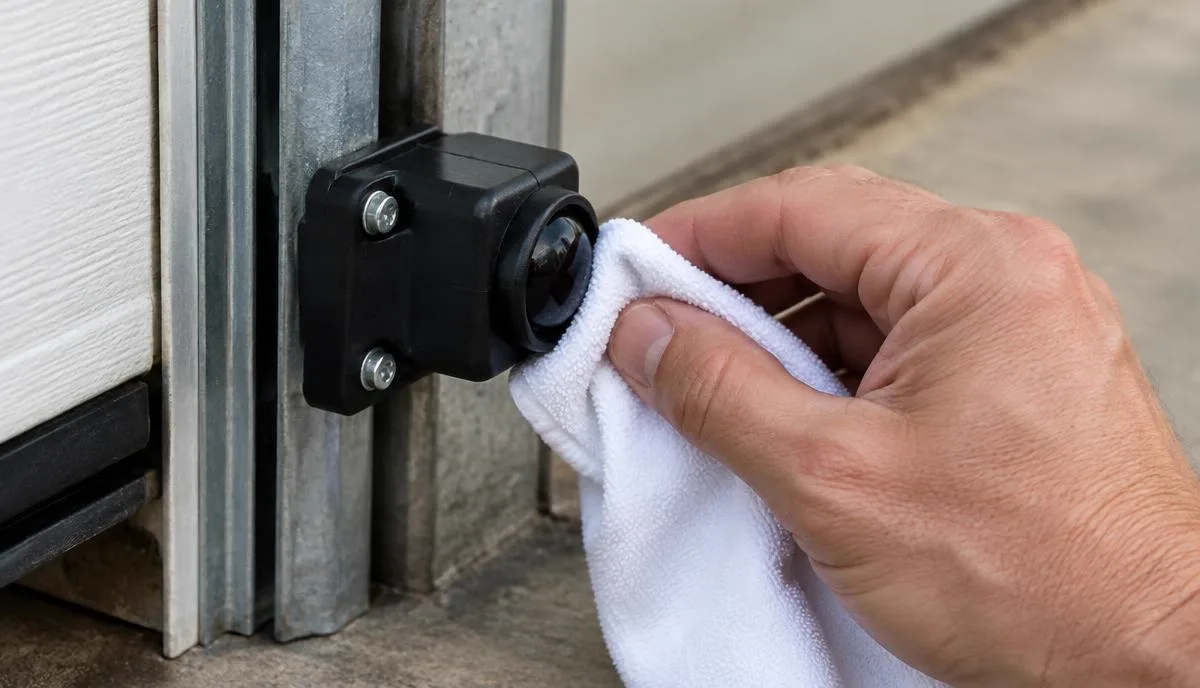
Check for dust, cobwebs or moisture on the lenses and clean them as the manual permits, usually with a soft cloth. Avoid abrasive cleaners and don't spray lubricant onto the sensor housings. A clean lens is a simple check, not a reason to open an electrical enclosure.
Look for a bracket that's visibly bent or loose without forcing it straight. For example, a storage bin pushed against one eye can knock it out of position. If the bracket is damaged or an attachment won't hold securely, arrange repair instead of improvising a mounting point.
Notice whether sunlight reaches the receiving lens at the time of the fault. Report a consistent time-of-day pattern and ask about manufacturer-approved solutions. Never shade the eye with tape or another object that blocks the beam or prevents the protection from working.
- Stop movement and keep the opening clear.
- Remove ordinary beam obstructions.
- Clean lenses using the manual’s method.
- Check for visible bracket damage and sunlight exposure.
How should you interpret the sensor indicator lights?
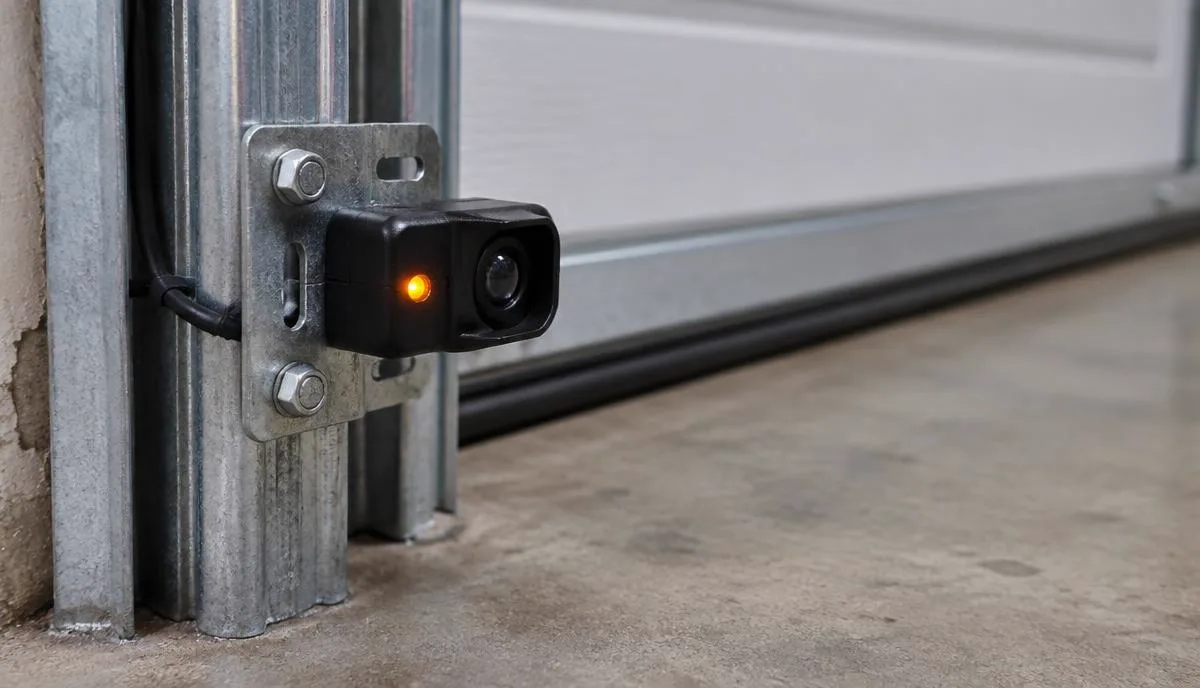
Read the manual's indicator description before deciding which eye needs attention. Many LiftMaster systems use different indicators for sending and receiving sensors, but the exact meaning depends on the model. Don't assume both should blink, both should be green or every light means alignment.
A powered sending eye and an unsteady receiving-eye indicator can suggest an obstructed or misaligned beam on some systems. It can also involve wiring or an installation issue. Use this as a clue for the permitted checks, not as proof that the sensor itself needs replacement.
If both indicators are off, check the opener's normal power supply using safe, accessible controls. Don't open wiring compartments or work on exposed conductors. A power or wiring fault requires a different repair from nudging an adjustable bracket into line.
Write down the lights' colors and whether they are steady, dim or flashing, along with the error code. That specific report helps a technician more than 'the sensors look fine.' If the manual and observed lights don't agree, stop and obtain model-specific support rather than trying random combinations.
When is a small sensor alignment adjustment appropriate?
Only adjust the sensor if your manual provides an owner procedure and the bracket and wiring are intact. First place the door in the safe state specified by those instructions. Don't release an open or unstable door to create working room near the sensor.
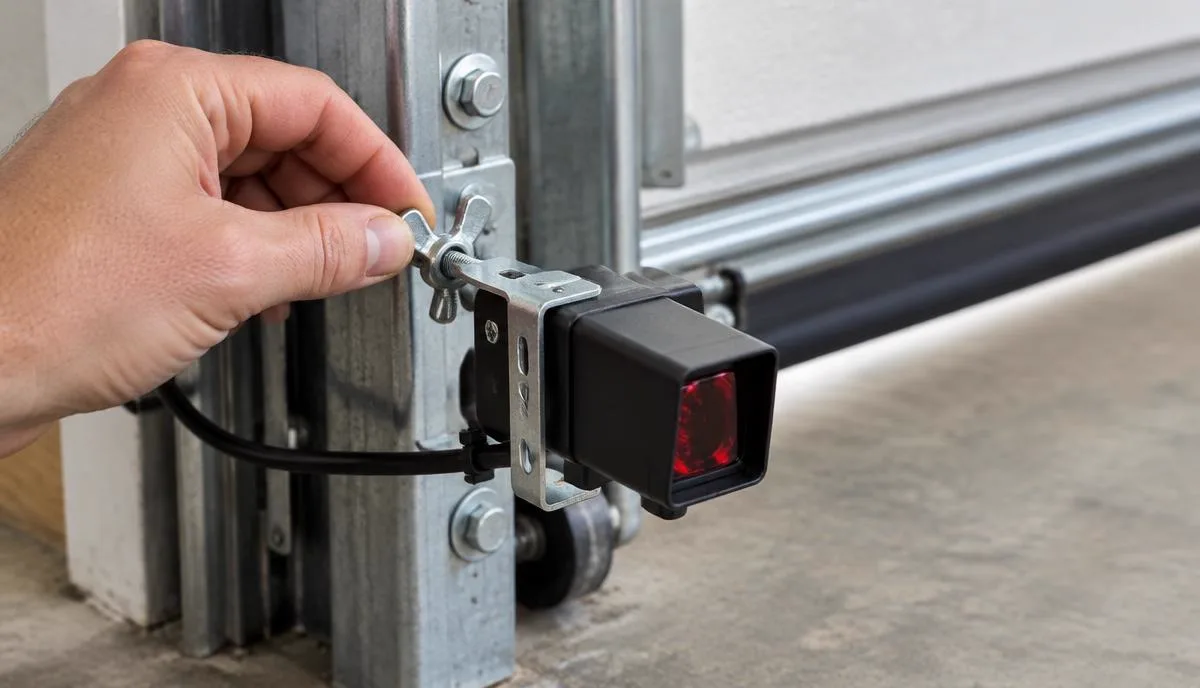
Use the bracket's permitted adjustment, which may involve a wing nut on some models. Aim the eyes directly toward each other while monitoring the indicated alignment state. Don't bend the track, relocate a sensor or use makeshift hardware to obtain a steady light.
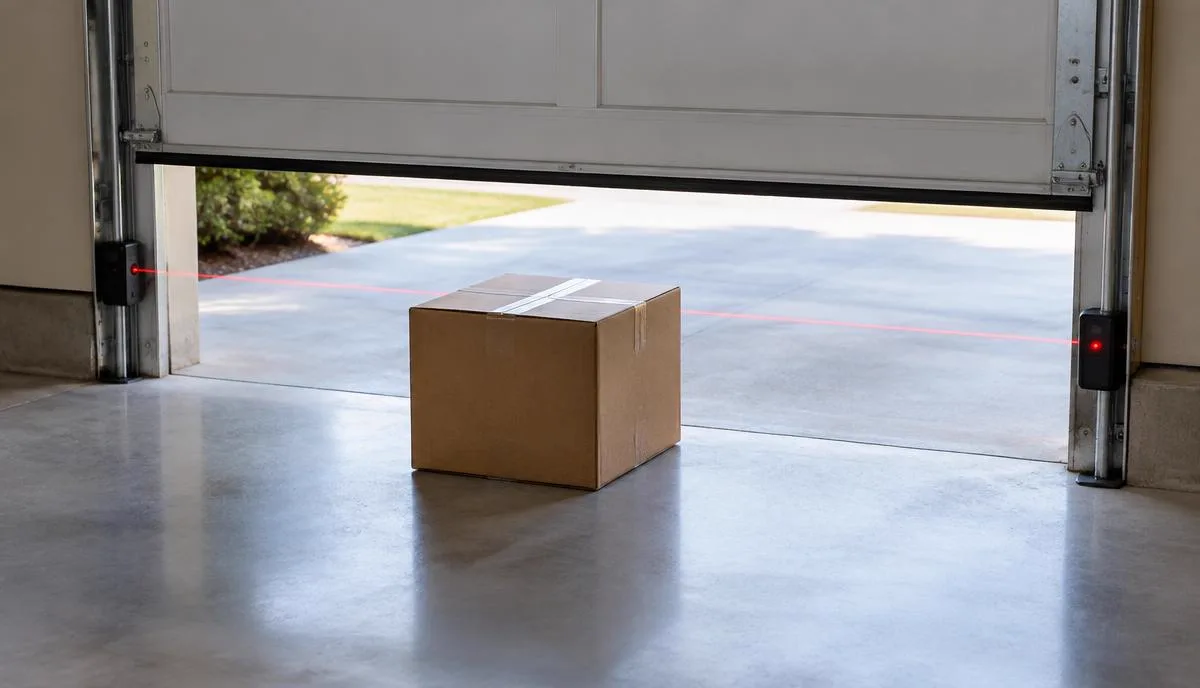
The sensors must remain at the installation height and position required for the system. LiftMaster guidance commonly places photoelectric protection no higher than six inches above the floor; follow the specific instructions for your installation. Raising the eyes to avoid an obstruction undermines their purpose.
Secure the adjustment as instructed and recheck the indicators without moving the mount. If alignment changes when the bracket is tightened or the mounting point won't stay stable, stop. A repair is needed when the hardware can't retain the approved position, even if you briefly obtained a steady light.
- Confirm that owner adjustment is permitted.
- Use the intended bracket adjustment only.
- Keep the manufacturer-required height and position.
- Secure the mount and confirm the alignment remains stable.
How do you verify the safety system after alignment?
A single successful closing cycle isn't a complete safety check. Follow the opener manufacturer's prescribed photoelectric and contact-reversal tests after the adjustment. These are distinct functions, and each needs the method and object specified in the instructions.
For the beam test, keep people and animals out of the opening and use the manual's approved procedure from a safe position. Don't wave your arm under a moving door or use a child as a test obstruction. The test should demonstrate the response without putting anyone in the travel path.
The contact-reversal test has its own instructions, including the test object's placement. Some opener manuals specify a flat two-by-four, but don't treat that as a universal substitute for your own manual. If you aren't confident about the procedure, have a technician perform it.
If the door doesn't respond as required, stop using the operator and obtain service. Don't increase force or hold a control as a workaround to keep using it after a failed test. Note exactly which safety response failed so the service provider can prepare for a meaningful diagnosis.
What if the sensors still will not align or the fault returns?
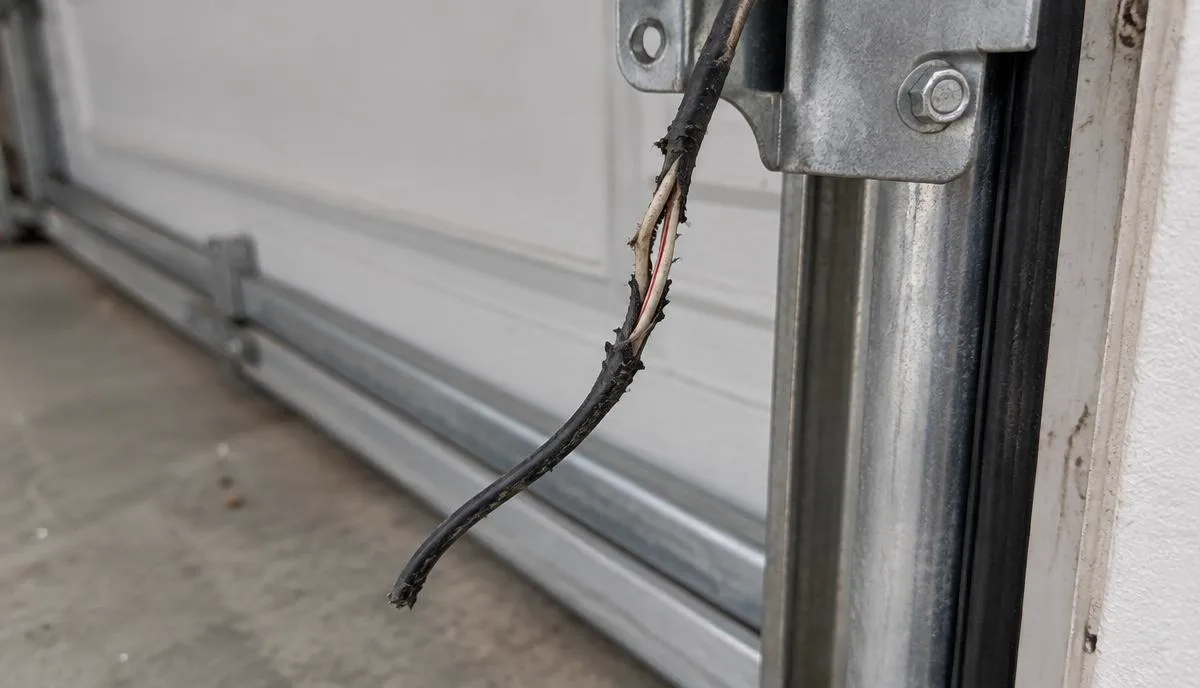
Look for visible damage from a safe position, such as a loose mount, broken housing or accessible wire that's been cut or chewed. Don't splice wires, probe live circuits or open the opener enclosure. Wiring specifications and terminals are model-specific and need an appropriate repair.
If the fault returns when the door vibrates, describe that pattern. A bracket, attachment or wire connection may need attention, but don't conclude which part has failed without inspection. Repeatedly repositioning an eye is not a durable solution if the installation won't hold alignment.
Prepare your model number, indicator details and a summary of the safe checks you completed. For example: 'Both lenses are clean, the opening is clear, and the receiving indicator flickers when the door starts.' That avoids wasted guesses while keeping you out of the electrical repair process.
Ask for a sensor and door-operation diagnosis rather than a preset parts purchase. The technician should confirm the problem, repair the appropriate component and verify the safety functions. Confirm appointment availability directly, especially if the garage can't be secured without using a faulty operator.
- Stop after a failed safety test or persistent fault.
- Report model, indicators and what you checked.
- Request diagnosis and verification, not a bypass.
What else do homeowners ask about this topic?
Why does my garage door open but not close?
A blocked or misaligned photoelectric beam is one possible cause, but mechanical and opener faults can produce similar symptoms. Clear the opening, check your model's indicators and stop if the door is damaged or the fault persists.
Should both garage door sensor lights be green?
Not necessarily; indicator colors and meanings vary by model. Compare the lights with the exact opener manual instead of adjusting them to match a generic online chart.
Can I bypass my garage door sensors temporarily?
Don't bypass or disable the sensors. Restore the protection using the manufacturer's instructions or arrange repair, and don't use the opener after a failed safety test.
What should you remember before taking the next step?
- Clear and clean the beam path before adjusting.
- Interpret indicators using the exact model manual.
- Never change height or bypass protection.
- Verify the prescribed safety tests and stop if they fail.
Sources and manufacturer instructions
“Springs are under high tension.”
Get help with garage door opener repair
Call Springz to describe the problem, request a diagnosis and confirm current service availability in Travis and Hays Counties.