How-To Guides · 9 min read
How Do You Run a Garage Door Reverse Test?
By Ted DeSimone
Updated
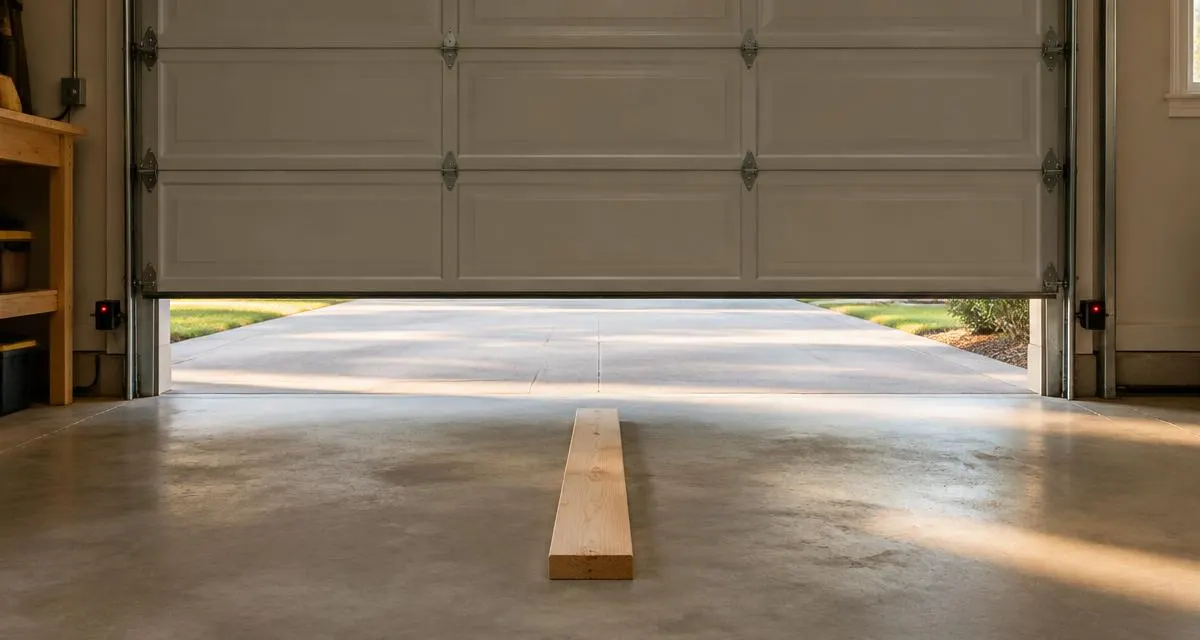
Your opener has a safety feature that's supposed to send the door back up if it hits something. A garage door reverse test takes about two minutes and tells you whether that feature still works.
You'll learn what to use, how to run the test, how to check the photo-eye sensors, and exactly what to do if the door doesn't reverse.
Why does the reverse test matter so much?
A garage door is one of the heaviest moving things in most homes. If the opener keeps pushing down after the door meets something, it can trap whatever is underneath. That's the whole reason the reversing feature exists.
The U.S. Consumer Product Safety Commission (CPSC) says garage door openers made or imported for sale in the U.S. after January 1, 1991 must have reversing systems. A second, external protection requirement was added in 1993. That can be an electric eye, a door edge sensor or another device with equal protection.
CPSC has reported that children have been trapped and killed under automatic garage doors that didn't stop and reverse. That's sobering, and it's why the agency tells homeowners to test the reverse function and inspect the door and opener every 30 days.
Here's the catch: a door can open and close every day and still fail this test. Force settings drift, sensors get bumped, and parts wear. You won't know the safety feature works unless you check it on purpose.
What do you need before you start?
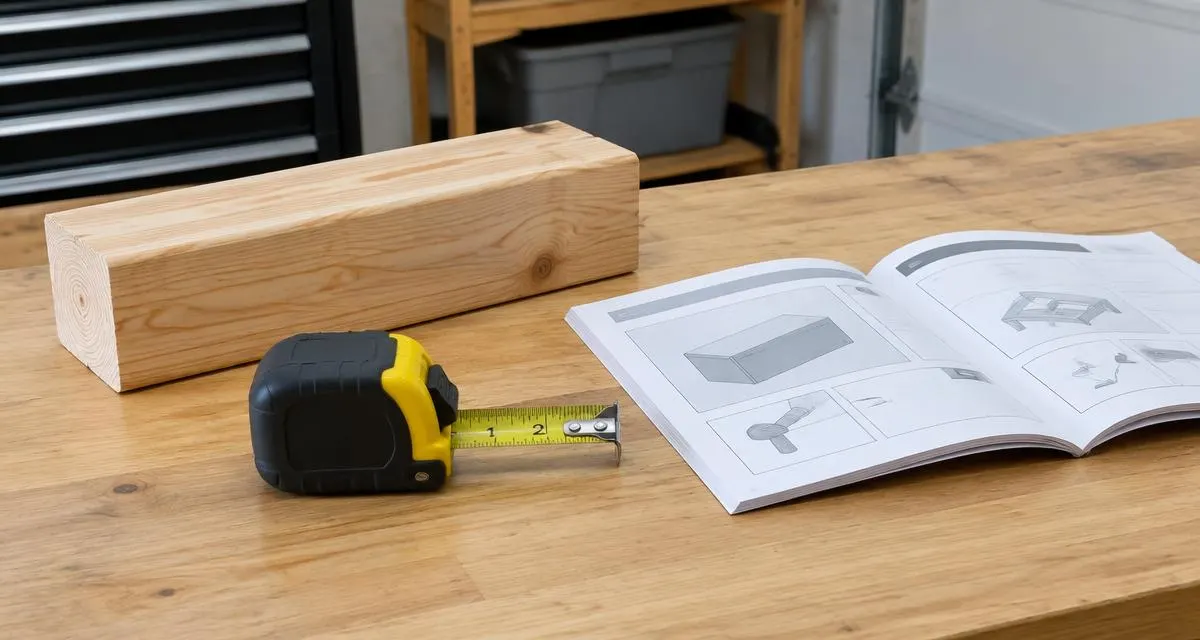
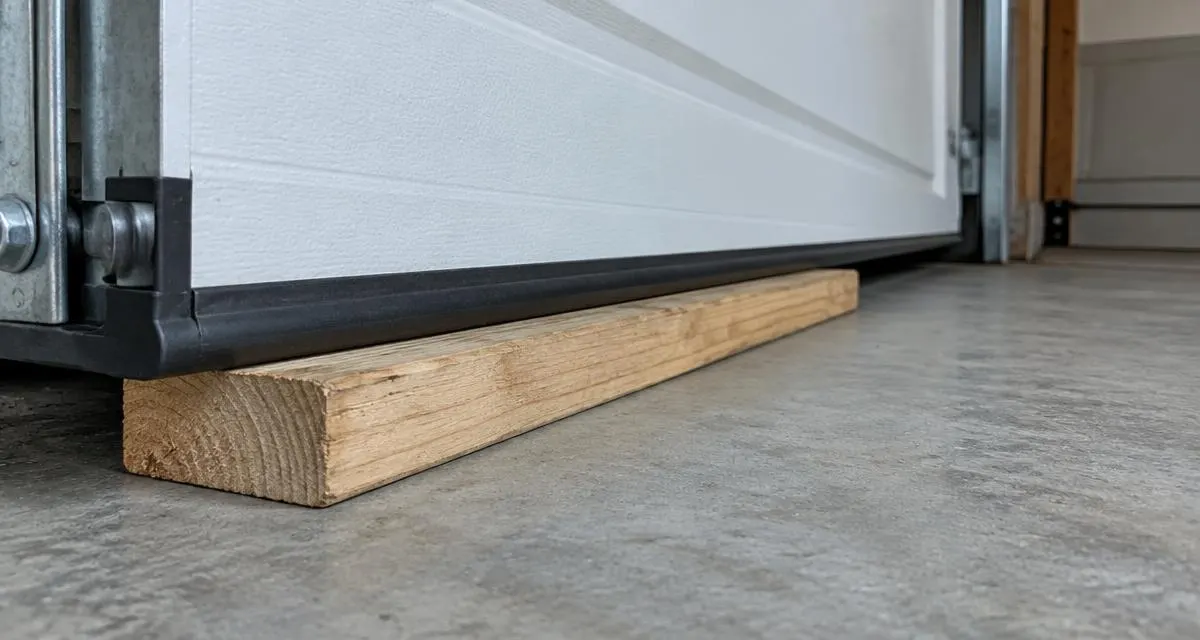
You need a piece of wood about 1-1/2 inches tall. Chamberlain's support guide says a 2x4 laid flat works, and CPSC also describes using a 2x4. Lay it flat, not on its edge, so the height matches what the manufacturer calls for.
Grab your opener's owner's manual if you have it. Most manufacturers post manuals online if yours is lost. The manual tells you where your adjustments are and what the maker says to do if the test fails. Settings and controls differ between brands and models.
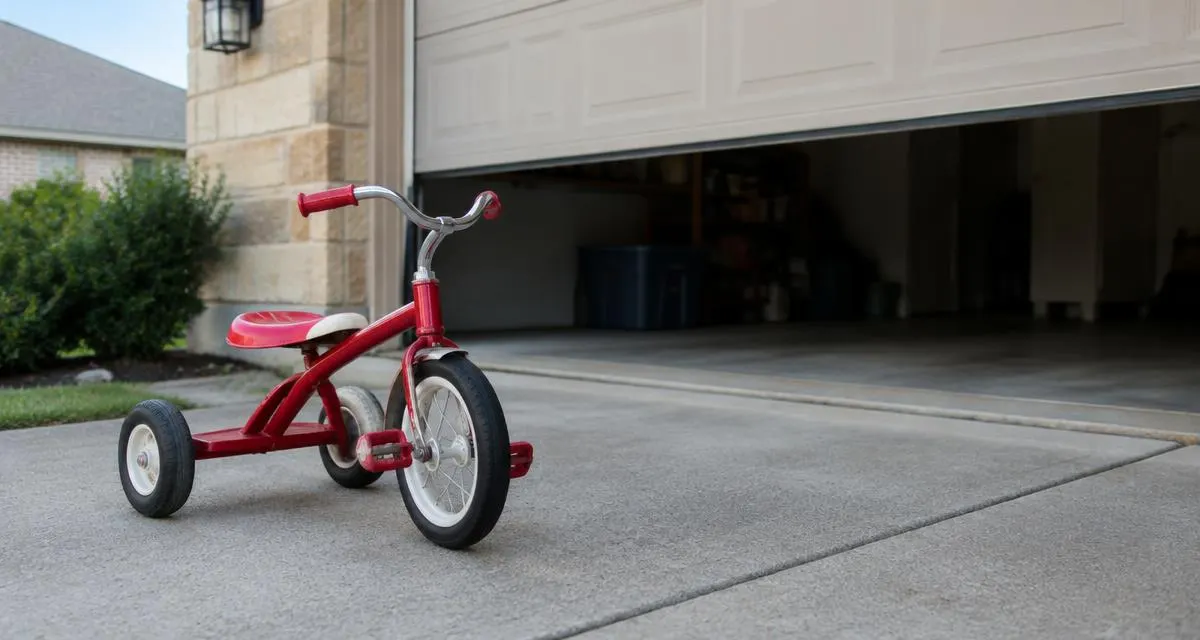
Clear the area. Move cars, bikes, bins and anything else out of the door's path. Ask kids and pets to stay inside or well away from the garage while you work. You'll be standing near the wall button, not under the door.
Take a quick look at the door before you test. If it's crooked, a cable looks loose, a spring is visibly broken, or the door is making new grinding noises, skip the test. Those are repair problems, and running the door could make them worse.
- Get a 2x4 and lay it flat.
- Find your opener manual, online if needed.
- Clear the doorway of cars, kids, pets and stored items.
- Skip the test and call if the door looks damaged.
How do you run the board test step by step?
Start with the door fully open. Lay the 2x4 flat on the floor, centered under the door. Center matters because that's where the door usually meets the floor first and where the test is meant to be done.
Stand at the wall button where you can see the whole door. Press the button to close it. Watch the bottom edge as it comes down. When the door touches the board, it should stop and reverse back up.
A pass means the door clearly reverses on contact. Some newer Chamberlain-made Wi-Fi openers will also beep, flash their lights and send a notification about the obstruction. That's a bonus feature on certain models, not something every opener does.
A fail means the door stops and stays down, or keeps pressing on the board without going back up. Either way, don't keep running it to see if it 'works next time.' Move on to the steps for a failed test below.
- Open the door all the way.
- Center the 2x4 flat on the floor under the door.
- Close the door from the wall button and watch.
- Pass: it reverses on contact. Fail: it stops or presses down.
How do you check the photo-eye sensors too?
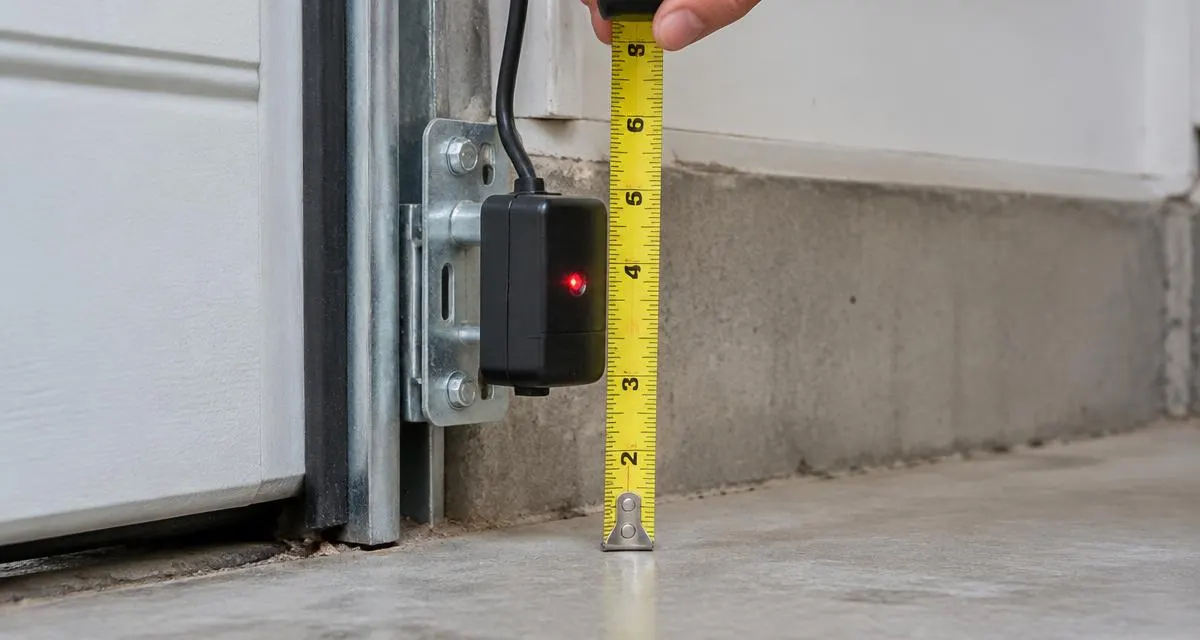
The board test checks the opener's contact reversal. The photo-eye sensors near the floor are a separate layer of protection. They're the small boxes on each side of the door that send an invisible beam across the opening.
CPSC says that when an electric eye is used, it should be installed 4 to 6 inches above the floor. Grab a tape measure and check. If a sensor has been knocked higher, lower or out of line, the beam may not protect a small child or pet.
Look at the indicator lights on the sensors. What the colors and blinking patterns mean depends on your brand, so check your manual instead of guessing. Wipe the lenses gently if they're dusty, and clear spider webs, leaves or anything blocking the line between them.
Your manual will usually describe a simple way to check that the door won't close or will reverse when the beam is blocked. Follow those exact instructions. Never tape, cover or remount sensors up high just to stop a door from reversing. That defeats the safety system on purpose.
What should you do if the door doesn’t reverse?
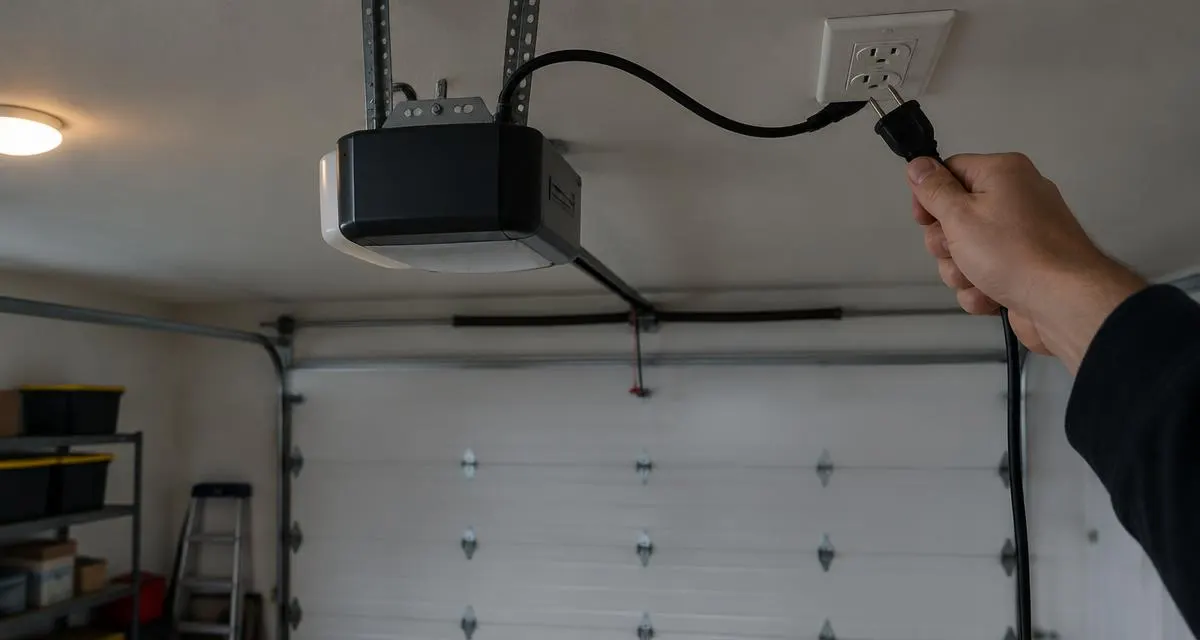
CPSC's advice is direct: if the door doesn't reverse when it hits the 2x4, the opener should be disengaged until it's adjusted per the owner's manual, repaired, or replaced with a new opener. In plain terms, stop using it as an automatic opener for now.
Some failures come from settings the manual lets you adjust, like travel limits or force. If your manual walks you through it and you're comfortable, follow it exactly, then run the reverse test again. Chamberlain says the test must be repeated after any adjustment.
Don't 'fix' it by turning the force all the way up so the door closes. More force is the opposite of what you want here. And don't touch the springs, cables or bottom brackets. They hold a lot of stored energy and need a trained technician.
If the opener is old, CPSC suggests replacing openers that don't automatically reverse with ones that meet the federal standard. A technician can tell you whether yours can be brought back into spec or whether replacement makes more sense.
- Stop using the opener automatically.
- Follow only the adjustments your manual allows.
- Retest after every change.
- Call for service if it still fails or the manual doesn’t cover it.
How often should you test, and what else should you check?
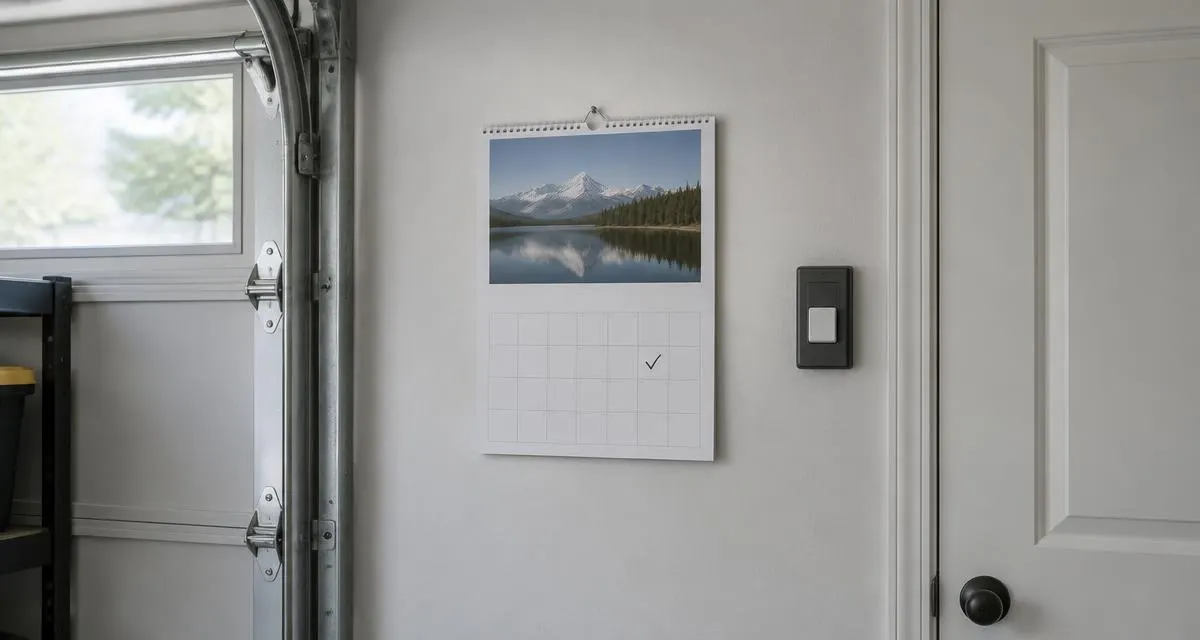
Chamberlain's support article says the safety reversal system must be tested every month and after any adjustment. CPSC also recommends inspecting the door and opener every 30 days. Pick a day that's easy to remember, like the first of the month, and put it on your calendar.
CPSC also talks about door balance. A properly working door should stay in place when it's stopped partly open. A badly unbalanced door could drop unexpectedly. If your door binds, sticks or won't stay put, CPSC says to have a professional service it.
Two simple habits help too. CPSC recommends mounting the wall button as high as practical so small kids can't reach it, and keeping remotes away from children. Talk with your kids about staying clear of a moving garage door.
If you live in a busy household, write down the date and result each time you test. It takes ten seconds and gives you a clear record if something starts to change, which is useful to share with a technician.
What else do homeowners ask about this topic?
What size board should I use for a garage door reverse test?
Chamberlain says the door must reverse on contact with a 1-1/2 inch high object, or a 2x4 laid flat. CPSC also describes using a 2x4 placed in the door's path.
How often should I test my garage door auto-reverse?
Chamberlain says every month and after any adjustment. CPSC also recommends inspecting the door and opener every 30 days.
Can I still use my opener if it fails the reverse test?
CPSC says the opener should be disengaged until it's adjusted per the manual, repaired or replaced. Don't keep using it automatically in the meantime.
How high should garage door safety sensors be?
CPSC says an electric eye should be installed 4 to 6 inches above the floor. Check your manual for your model’s mounting and alignment steps.
What should you remember before taking the next step?
- Test monthly with a 2x4 laid flat under the center of the door.
- The door must reverse on contact, not stop or press down.
- Check that sensors sit 4 to 6 inches off the floor and are clean and aligned.
- If it fails, stop using the opener until it’s adjusted, repaired or replaced.
- Never raise the force or bypass sensors to make a door close.
Sources and manufacturer instructions
“Springs are under high tension.”
Get help with garage door opener repair
Call Springz to describe the problem, request a diagnosis and confirm current service availability in Travis and Hays Counties.